Red Hat Fuse Installation
This time we are going to talk about installation Red Hat Fuse in our local, before going to step inside, I will explain little bit about Red Hat Fuse.
Refer to Red Hat Customer Portal website:
Red Hat Fuse is a distributed, cloud-native integration solution that has the flexibility to service diverse users - including integration experts, application developers, and business users - each with their own choice of deployment, architecture, and tooling. The result is an integration solution that supports collaboration across the enterprise.
Red Hat Fuse is enterprise edition of Apache ServiceMix Community project and it is emerging as one of the key factors in SOA technologies. You can refer here to get details explanation about JBoss Fuse product.
Installations
- Download Jboss Fuse 6.2.1 GA from here (Required login to download).
- Go to the folder where you have downloaded JBoss Fuse and unzip it.
- Edit /etc/users.properties and uncomment the admin user on the last line.
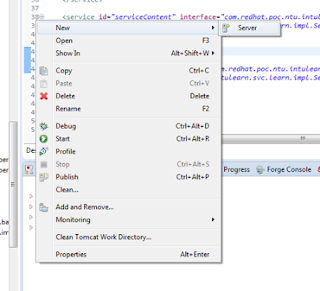
- Open your JBoss Developer Tools, go to Servers tab
 Add new JBoss Fuse 6.2 Server
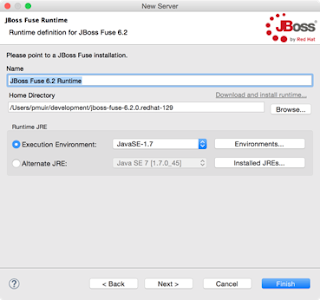
- On the JBoss Fuse Runtime window, select the folder where you installed JBoss Fuse and click Next.
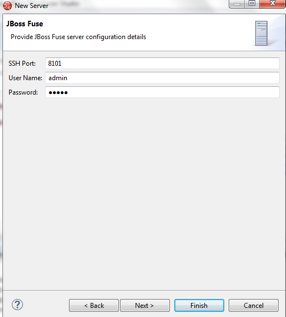
- Use same credential as JBoss Fuse Server login. You can refer to jboss-fuse-full-6.2.0.redhat-133/etc/users.properties e.g Username: admin and Password: admin then Finish.
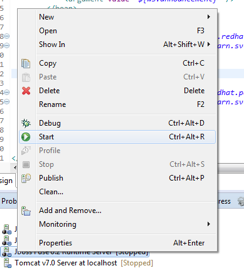
- Start JBoss Fuse Server on the Server tab.
Note: Wait until process status 100%.

- Once the server start, JBoss developer studio Shell tab show as following
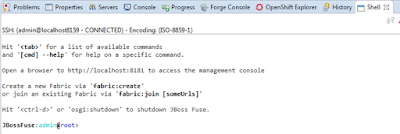
- To verify Fuse was successfully installed, open a web browser and visit. Go to http://localhost:8181, login as username admin and password admin.